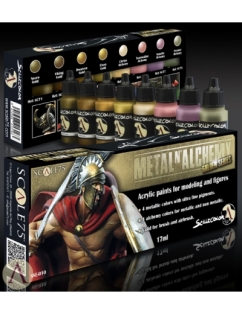
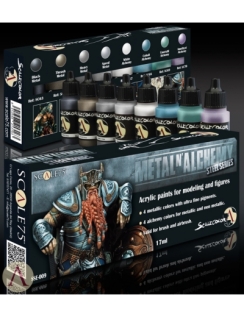
Inside the box we can find two types of paints. I’ll call them Metallic and Alchemy colors. First of all let’s talk about these paints:
PAINTS IN DEPTH
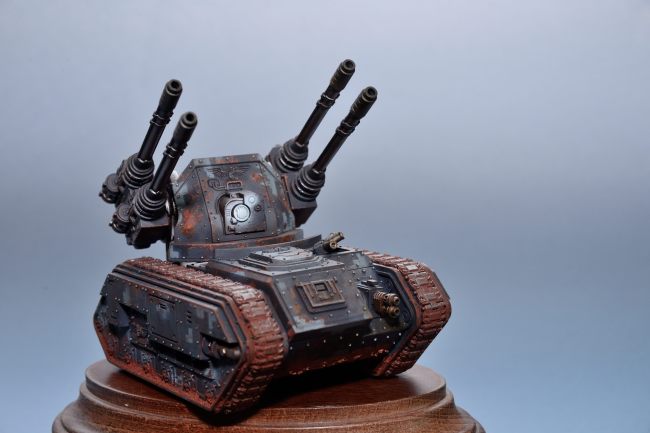
- Metal/Gold colors: They have a quite liquid texture but also they cover the surface perfectly with a couple of layers. This is specially useful when painting a Golden base-coat, because most of the Golden colors available have a too transparent consistency. They have an strange metallic and matt finish, what makes them look very realistic when painting old and rusted metals.
- Alchemy colors: These colors are a little bit more liquid tan the Metal/Gold colors, but they are more shiny. They don’t have the matt finish the others have, what makes them perfect colors to highlight, paint the edges or make scratches. In both Gold and Silver sets you have a silver or gold Alchemy color, which is brighter (White and Citrine Alchemy) and then there are another three Alchemy colors which are more colorful.
WAYS TO USE THEM
Experiment making all the mixes! Don’t limit to use them as a color transition.
- A good way to reach different tones is to use a Metal/Gold color as a base-coat and highlight it using an Alchemy color, and then shade it using a matt dark color mixed with the base-coat.
- The opposite way is to use a mix of a Metal/Gold color and an Alchemy one, highlight using the brightest Metallic or Alchemy color and shade it adding a matt dark color to the base.
- But also you can use it as a color transition, using a medium tone as base color and highlight and shade it with the other colors.
If you don’t like to work with mat shadows just change it for the dark metal tone you want. These only are some ways to work with it. Your best way must be found by yourself. Try to make a lot of mixes with the colors of the set in order to find a good base-coat and different tones of metals.
Some examples:
- Base-coat: Necro Gold
Highlight: Add Citrine Alchemy to the Base
Shadow: Add matt black to the base
- Base-coat: Mix of Trash Metal and Cobalt Alchemy
Highlight: Add Speed Metal to the base
Shadow: Add matt black to the base
- Base-coat: Dwarven Gold
Highlight: Elven Gold
Shadow: Necro Gold
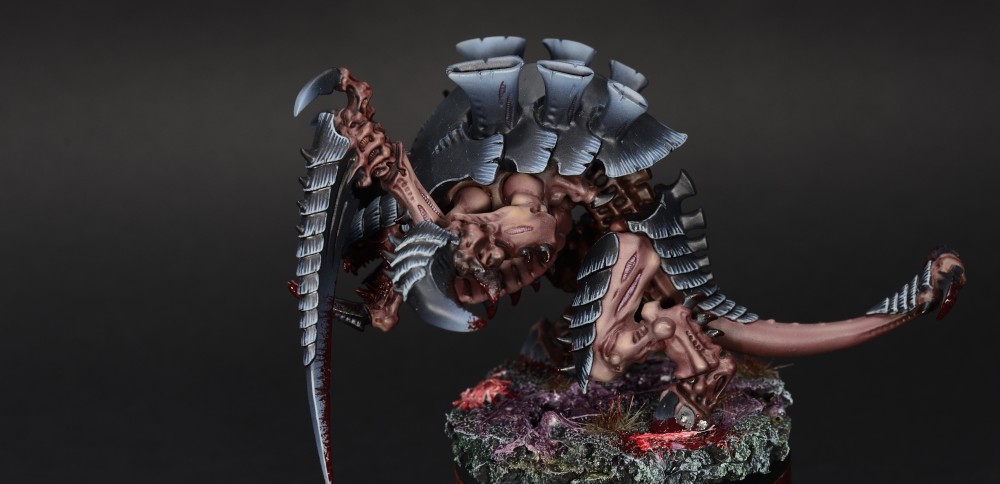
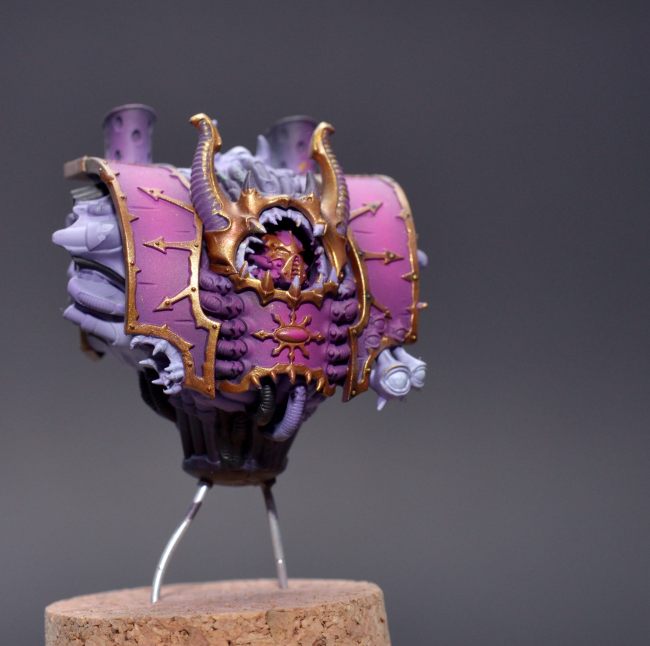
The waist part was shaded adding Black Ink to the base color.
HOW TO IMPROVE YOUR METALS
Metal N’ Alchemy sets are really good for painting metals, but they are a little bit limited by their own, so here are some tips and tricks to improve your metals :
- The metal looks much better with matt shadows so when painting them try to shade the base color adding a dark matt color to it (if you have any other paint set from Andrea or Scale 75, the darker colors work very good).
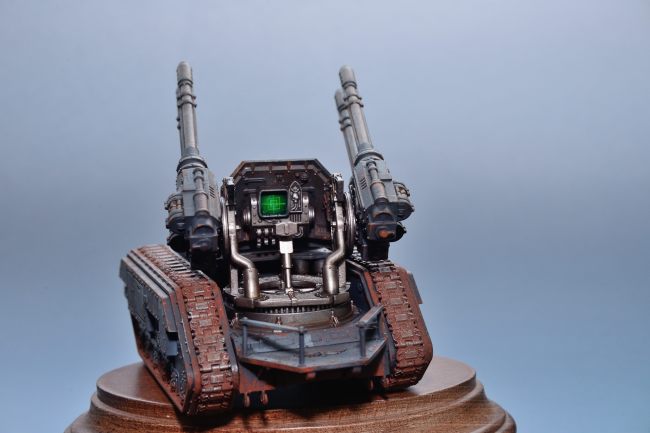
- Always highlight all the edges with White or Citrine Alchemy (or any metallic color brighter than the last highlight) and line the shadows with pure matt black or any other very dark color. It’ll give a lot of definition to the surface. Also you can add scratches and battle damage by this way.
- Adding dark matt glazes to the shadows once the scratches are painted will blend them into the surface and give a nice tone to the shadows. When painting gold, dark purple glazes look really good, and with silver, blue or brown looks nice too. I use inks from Andrea Ink Set mixed with matt black.
- Add texture to your metals. Metal surfaces are not smooth. When you paint the shadows try to add lines, dots and spots.
- Choose the surface and the technique. If you have to paint small surfaces is better to shade with inks or dark color glazes. True Metallics look much better in big miniatures.
- Metal rarely is clean. Add weathering and rust if it goes with the atmosphere. Remember that each metal has its own rust.
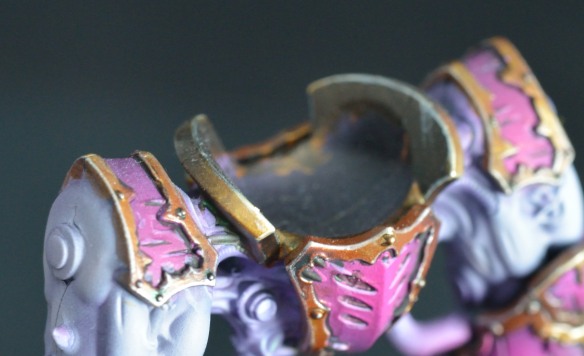
- BONUS TUTORIAL

- Here’s a detail photo of the golden parts of the Demon Prince a lot of people were asking about. The steps I followed to paint this color is really easy:
- I started with a Necro Gold base-coat. First I applied some shadows adding matt black (I used 3rd Shadow from Andrea Black Paint Set). I continued shading it until thought it was dark enough. I thinned all the shadows about 50% water 50% paint. For painting the highlights I added a little bit of Citrine Alchemy to the base-coat and painted light areas. Then I mixed the black color I used before with matt purple (I think the color is from the Andrea Red Paint Set) and painted several glazes over the shadows to give more depth and richness to the shadows. The last step was painting all the edges with pure Citrine Alchemy.
Hope you like it and find useful. If you do please share it to your friends 😉